
.png)

.png)


.jpg)
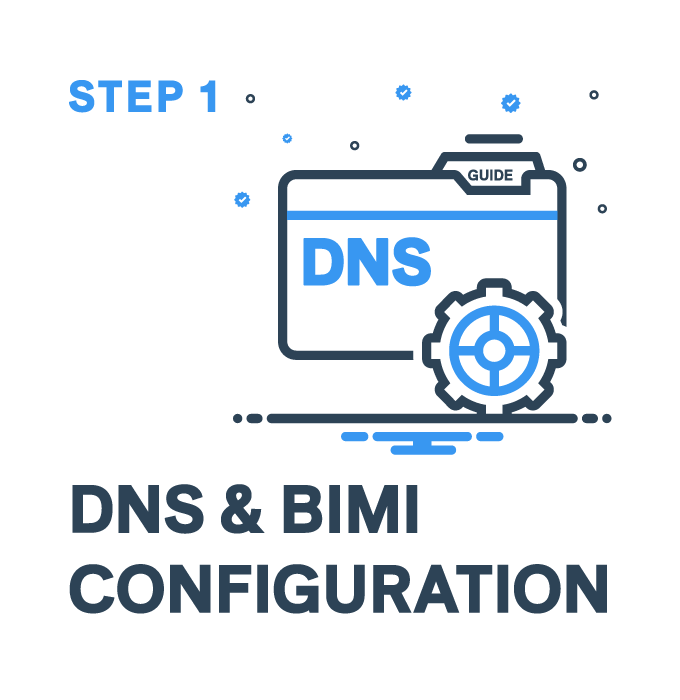
To get a more detailed guide on Step 1 - Please consult our dedicated guide on - Configuring your DNS and preparing to Setup your BIMI Record
In this initial stage, we'll lay the groundwork for your email's verified checkmark by preparing your BIMI record setup - a tech-intensive step.
BIMI is an evolving email standard, meaning the process may vary over time. SPF, DKIM, DMARC, and BIMI are interlinked protocols that enhance email communication security and authenticity. SPF and DKIM verify email origins, DMARC builds on these checks, dictating actions when checks fail, and BIMI, relying on DMARC, visually validates your emails with your logo. These protocols not only secure but also visually enhance your emails, building trust with your recipients.
Given BIMI's fluid nature as a developing email standard, be aware that the procedure may see occasional changes.
DNS Records: What They Are, Why They Matter, and How to Set Them Up
Simply put, DNS (Domain Name System) records are a crucial part of how the internet functions; they serve as the internet's address book. They help connect your website's domain name to the appropriate server IP address, making your website accessible to users. For protocols like BIMI, you need to add these DNS records to your domain provider's management console. These records, particularly DNS TXT records, carry vital information about your domain for external servers.
Understanding DNS records and their roles, such as connecting your domain name to its IP address for accurate email routing, is a key part of setting up email authentication protocols like BIMI.
Why setting up SPF, DKIM, and DMARC for your domain?
Setting up SPF, DKIM, and DMARC DNS records for your domain is crucial for improving email delivery. These protocols authenticate your email messages, ensuring they come from a legitimate source. This authentication helps prevent your emails from being flagged as spam or rejected by email servers. By implementing SPF, DKIM, and DMARC, you increase the likelihood of your emails reaching the intended recipients' inboxes.
Understanding Propagation

When adding a new DNS record, bear in mind that it can take up to 48 hours for it to fully propagate across all DNS servers globally. If you're encountering verification hiccups during this period, it's likely due to this propagation period. However, remember, propagation isn't the sole source of potential issues.
If you're curious about your DNS propagation status, use a tool like the one linked below. Keep in mind that propagation times can vary, and delays don't necessarily signal a problem with your record itself.
Gathering Your DNS Manager Credentials
To setup your DNS records, you will need access your DNS Manager. There are two common methods depending on your domain host: signing in directly to the domain host's sign-in portal or logging in via your third party DNS Manager. These steps ensure smooth access to the necessary settings for managing your domain's DNS configuration.
If you have a website developer or an IT person on your team, they might be the one managing your domain. Don't hesitate to ask them for this information.
Here are some of the most popular domain hosts:
- GoDaddy
- Google Domain
- Bluehost
- NameCheap
- DreamHost
Most popular DNS Managers:
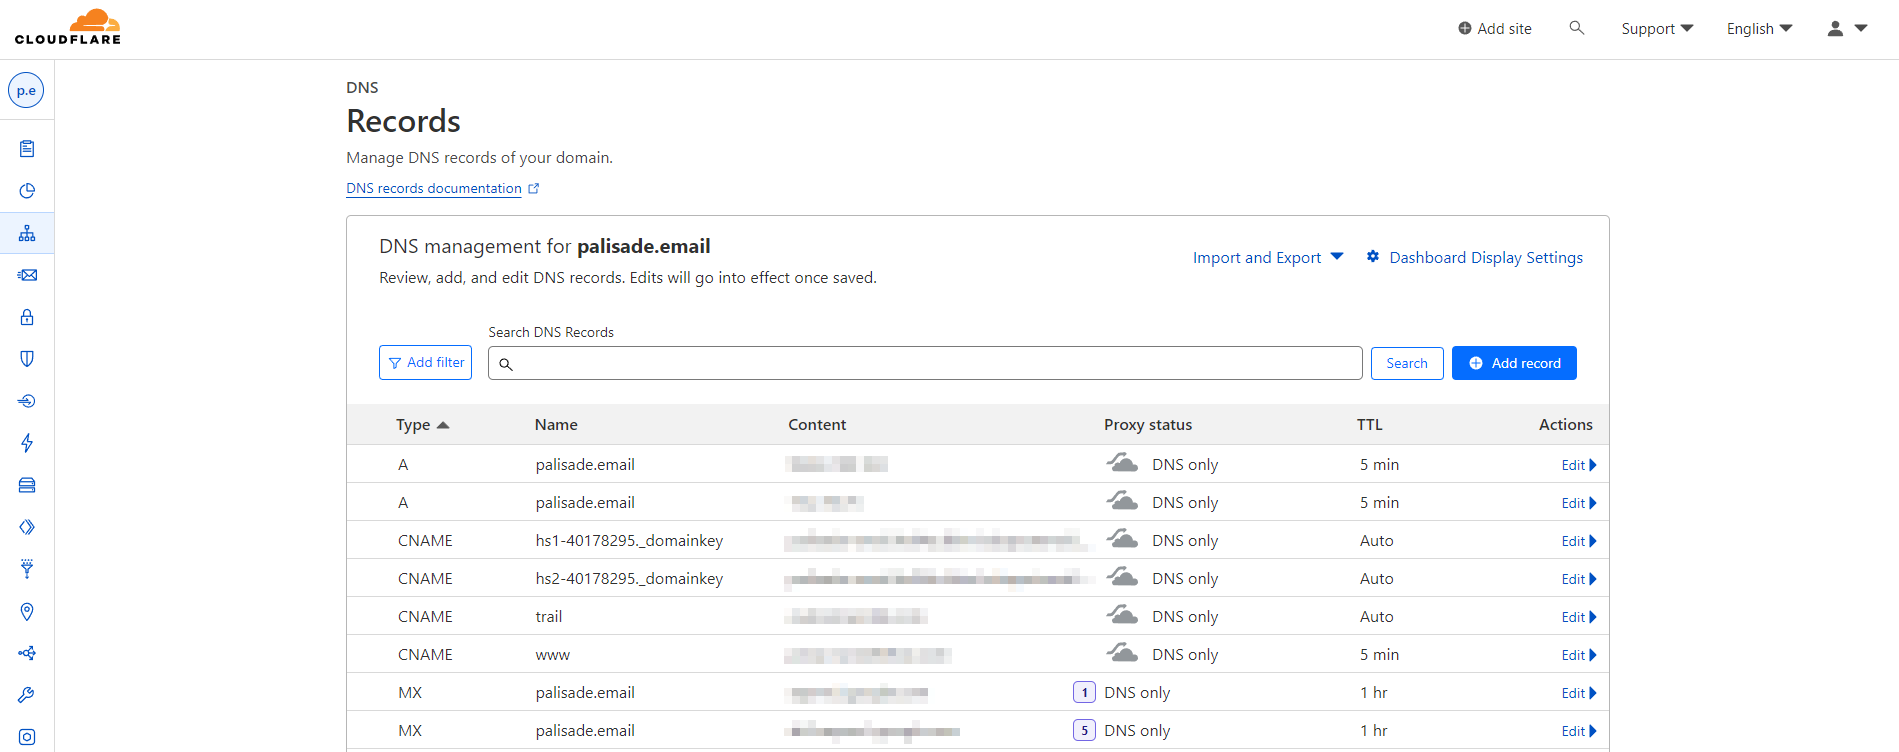
- Cloudflare
- Google Cloud DNS
- Amazon Route 53
Domain Host DNS Manager
Once you’ve signed in, your domain host provider interface should look similar to this:
.png)
As mentioned earlier, you can use your domain hosting provider's native DNS Manager to manage your DNS. The interface should look similar to this:
.png)
Third Party DNS Manager
If you are using a free third-party DNS Manager like Cloudflare, which we highly recommend, your DNS Manager interface should look like this.
Setting up your SPF Record
Setting up an SPF (Sender Policy Framework) record for your company's domain is like putting a seal of authenticity on all your outgoing emails. It helps prevent external threats from sending emails pretending to be from your domain. Here are the steps to set it up:
1. Identify Your Sending IPs:
Make a list of all the mail servers that send emails on behalf of your domain. These could include your company's internal mail servers and any external email marketing services. Note down their IP addresses.
2. Create Your SPF Record
Create Your SPF Record: An SPF record is a line of text that specifies which IP addresses are allowed to send emails on behalf of your domain.
Replace the sample IP addresses in the example with your actual ones. Here's an example SPF record for a domain using Google Workspace for email:
Typically, the new service will provide you with the updated version of the SPF record that will include your previously included services + the service you are trying to add:
.png)
3. Add the SPF Record to Your DNS:
Log in to your DNS management interface and add TXT records for your domain like we showed earlier in this article. The host should be "@" or your domain depending on the manager, and the value should be the SPF record you created.
4. Test Your SPF Record:
After the new record propagates (which may take up to 48 hours), use an online SPF record checker to verify if it's set up correctly. You can use a tool like this one:
Setting up your DKIM DNS record
DKIM (DomainKeys Identified Mail) is a method to verify that the emails you send are genuine and haven't been changed along their way to another inbox. It works by adding a special digital signature to your email. Here’s how to set it up:
1. Generate a DKIM Key:
You need to create a special key pair. For example, if you use a service like Google Workspace (Gmail) for your work email, they will provide you with a part of the key called the public key. They will keep the other part, called the private key, secure to sign your outgoing emails.
Example:
Google Workspace authentication generator
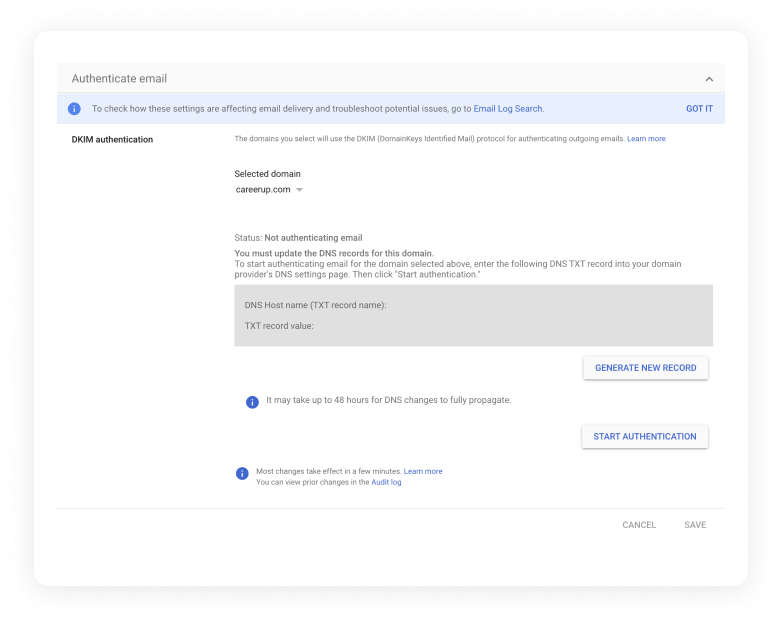
2. Add the DKIM record to your DNS:
The host for the DKIM record will usually look something like selector._domainkey, where selector is a name you choose (it could be anything like "mail", "google", etc.). The value will be the DKIM record you created.
Adding a new TXT record to your DNS settings. Use the following example for each value:
The DNS Record creator should look similar to this. For example, in Cloudflare:
.png)
3. Test your DKIM:
After the DKIM record propagates, you can use an online DKIM record checker to verify that it's set up correctly. Just enter your domain and the selector you used, and it should return your DKIM record.
https://mxtoolbox.com/dkim.aspx
Remember that this is a simplified guide and actual implementation might differ based on your email service provider. If you are having problems configuring and verifying your DKIM, don’t hesitate to contact us and let have our team helping you for free (for now!).
Setup DMARC for your Domain
DMARC (Domain-based Message Authentication, Reporting, and Conformance) is an email protocol that uses SPF and DKIM to check if an email is legitimately from the domain it says it's from.
Specifically: It tells the receiving email server what to do if the checks fail (like sending a report, quarantining the email, or rejecting the email), and can stop fraudulent emails before they even get to the recipient.
Typically, each service will provide you with the DMARC record to input into your DNS Manager. Let's say you use Mailjet for marketing emails, Google Apps (Gmail) for user emails, and Hubspot CRM for transactional emails. In this case, each of these services requires its own DMARC TXT record in your DNS manager. This ensures that the DMARC policies are correctly applied and enforced for each specific email service you utilize.
Note that you’ll first need SPF and/or DKIM deployed for a minimum of 48 hours (Propagation!) before you can set up DMARC.
Special Requirements for your DMARC policy settings for BIMI:
To enable BIMI, your DMARC policy must meet certain requirements.
- The policy option (p) must be set to either quarantine or reject. BIMI does not support DMARC policies with the p option set to none.
- Additionally, the percent option (pct) must be set to 100 to apply the DMARC policy to all outgoing mail from your domain.
Finally, here are the steps to set up DMARC for a single service:
1. Create a DMARC policy:
Your DMARC policy is a DNS record that tells receiving mail servers how to handle emails from your domain if they fail SPF or DKIM checks. Here's a simple example of a DMARC policy:
v=DMARC1 shows the version of DMARC. The p=quarantine tells the mail server to move suspicious emails to a different folder, like your recipient’s spam folder, instead of the inbox.
rua=mailto:postmaster@example.com specifies that aggregate reports should be emailed to postmaster@example.com.
If you would like to reject suspicious emails outright, you would change p=quarantine to p=reject. However, we recommend using caution when using p=reject as you would need to be absolutely sure to whitelist all of your email sending services.
2. Add the DMARC record to your DNS:
Add a new TXT record to your DNS settings. The host for the DMARC record will be _dmarc. The value will be the DMARC policy you just created. So, your DNS entry might look like this:
Hit save, your DMARC record should show up in your DNS record shortly. This can take up to 24 hours to propagate.
3. Test your DMARC record:
After the DMARC record propagates, you can use an online DMARC record checker like the BIMI Group's BIMI Inspector tool to verify that it's set up correctly. Just enter your domain and it should return your DMARC record.
Remember to monitor your DMARC reports regularly, as they will provide valuable insight into whether any malicious entities are attempting to send emails on behalf of your domain.
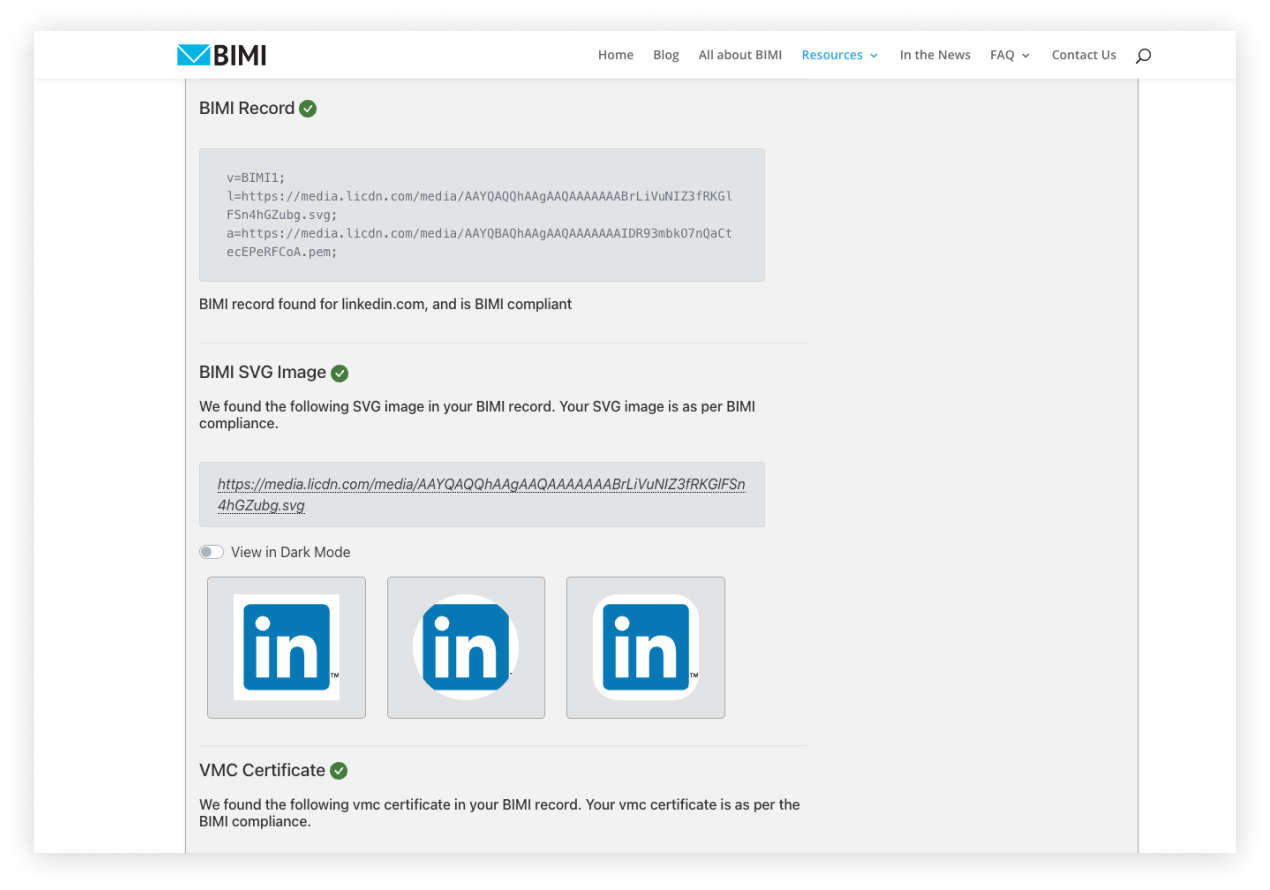
Checking for an existing BIMI record
You can check if your domain has an existing BIMI record by using the same BIMI Inspector tool. This tool checks for the BIMI record and the BIMI image SVG file associated with your domain and will generate a report with the results of the checks.
We hope our detailed guide helped you understand the first step in obtaining your verified status.
If you run into any problems while completing this first step, contact us for a detailed analysis of the next steps required to obtain your verified Gmail checkmark.
